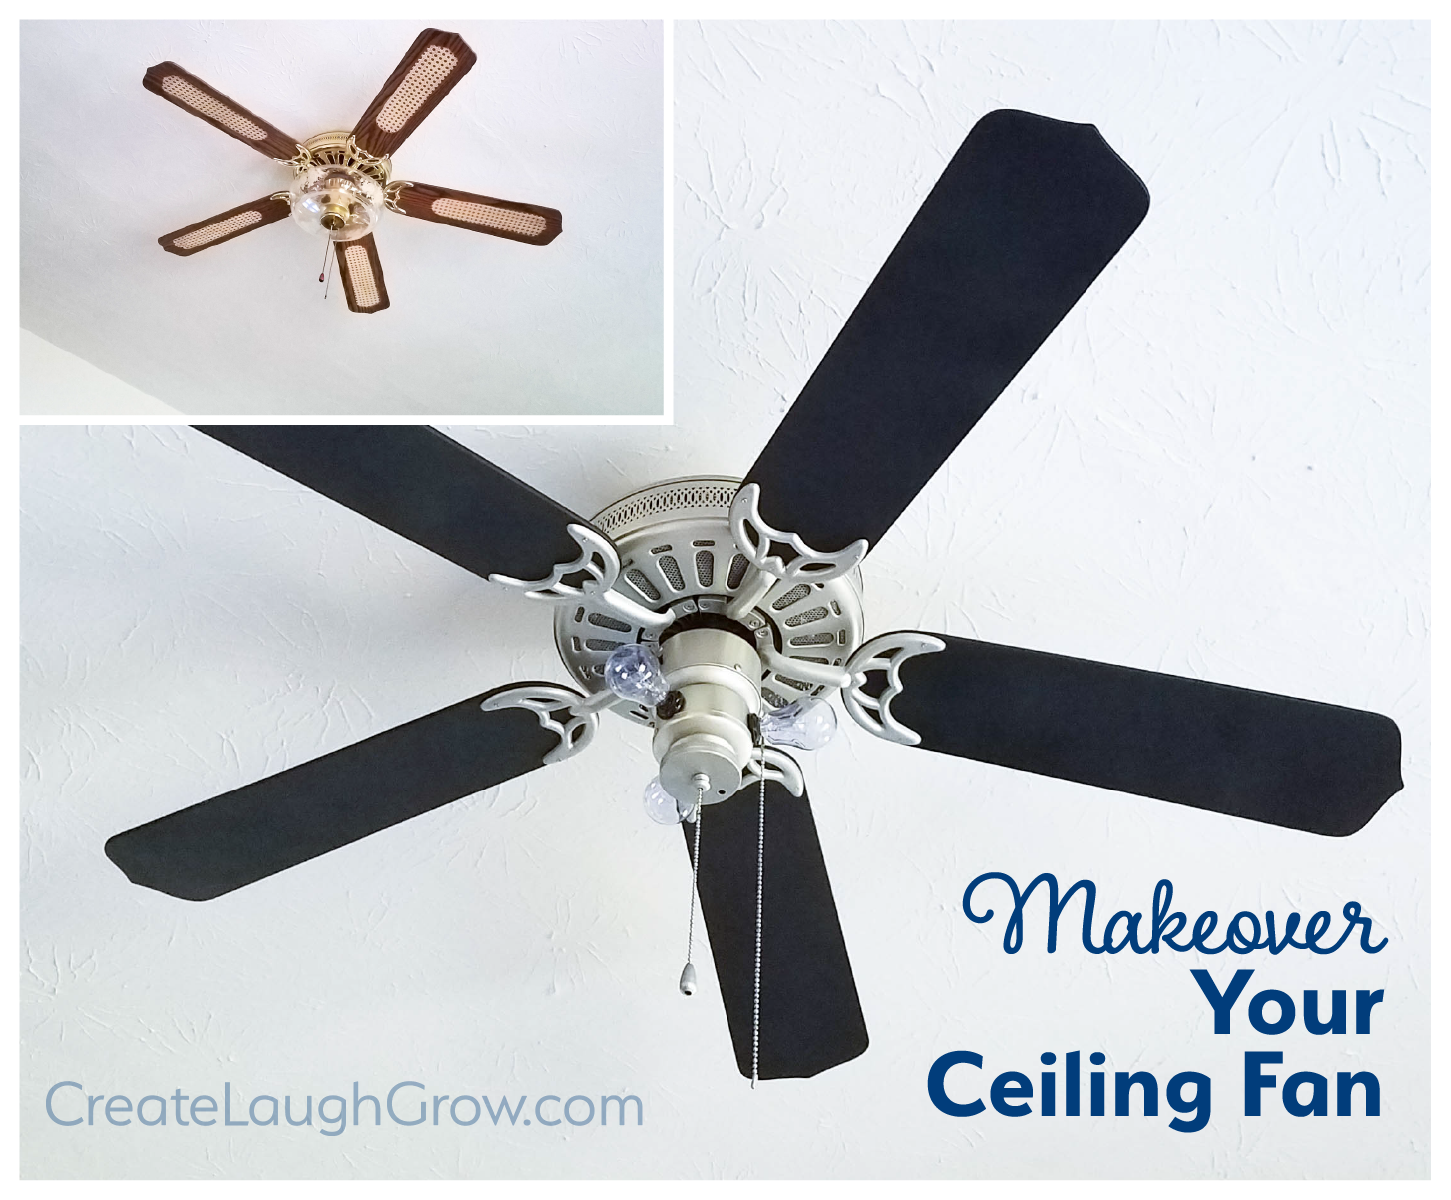
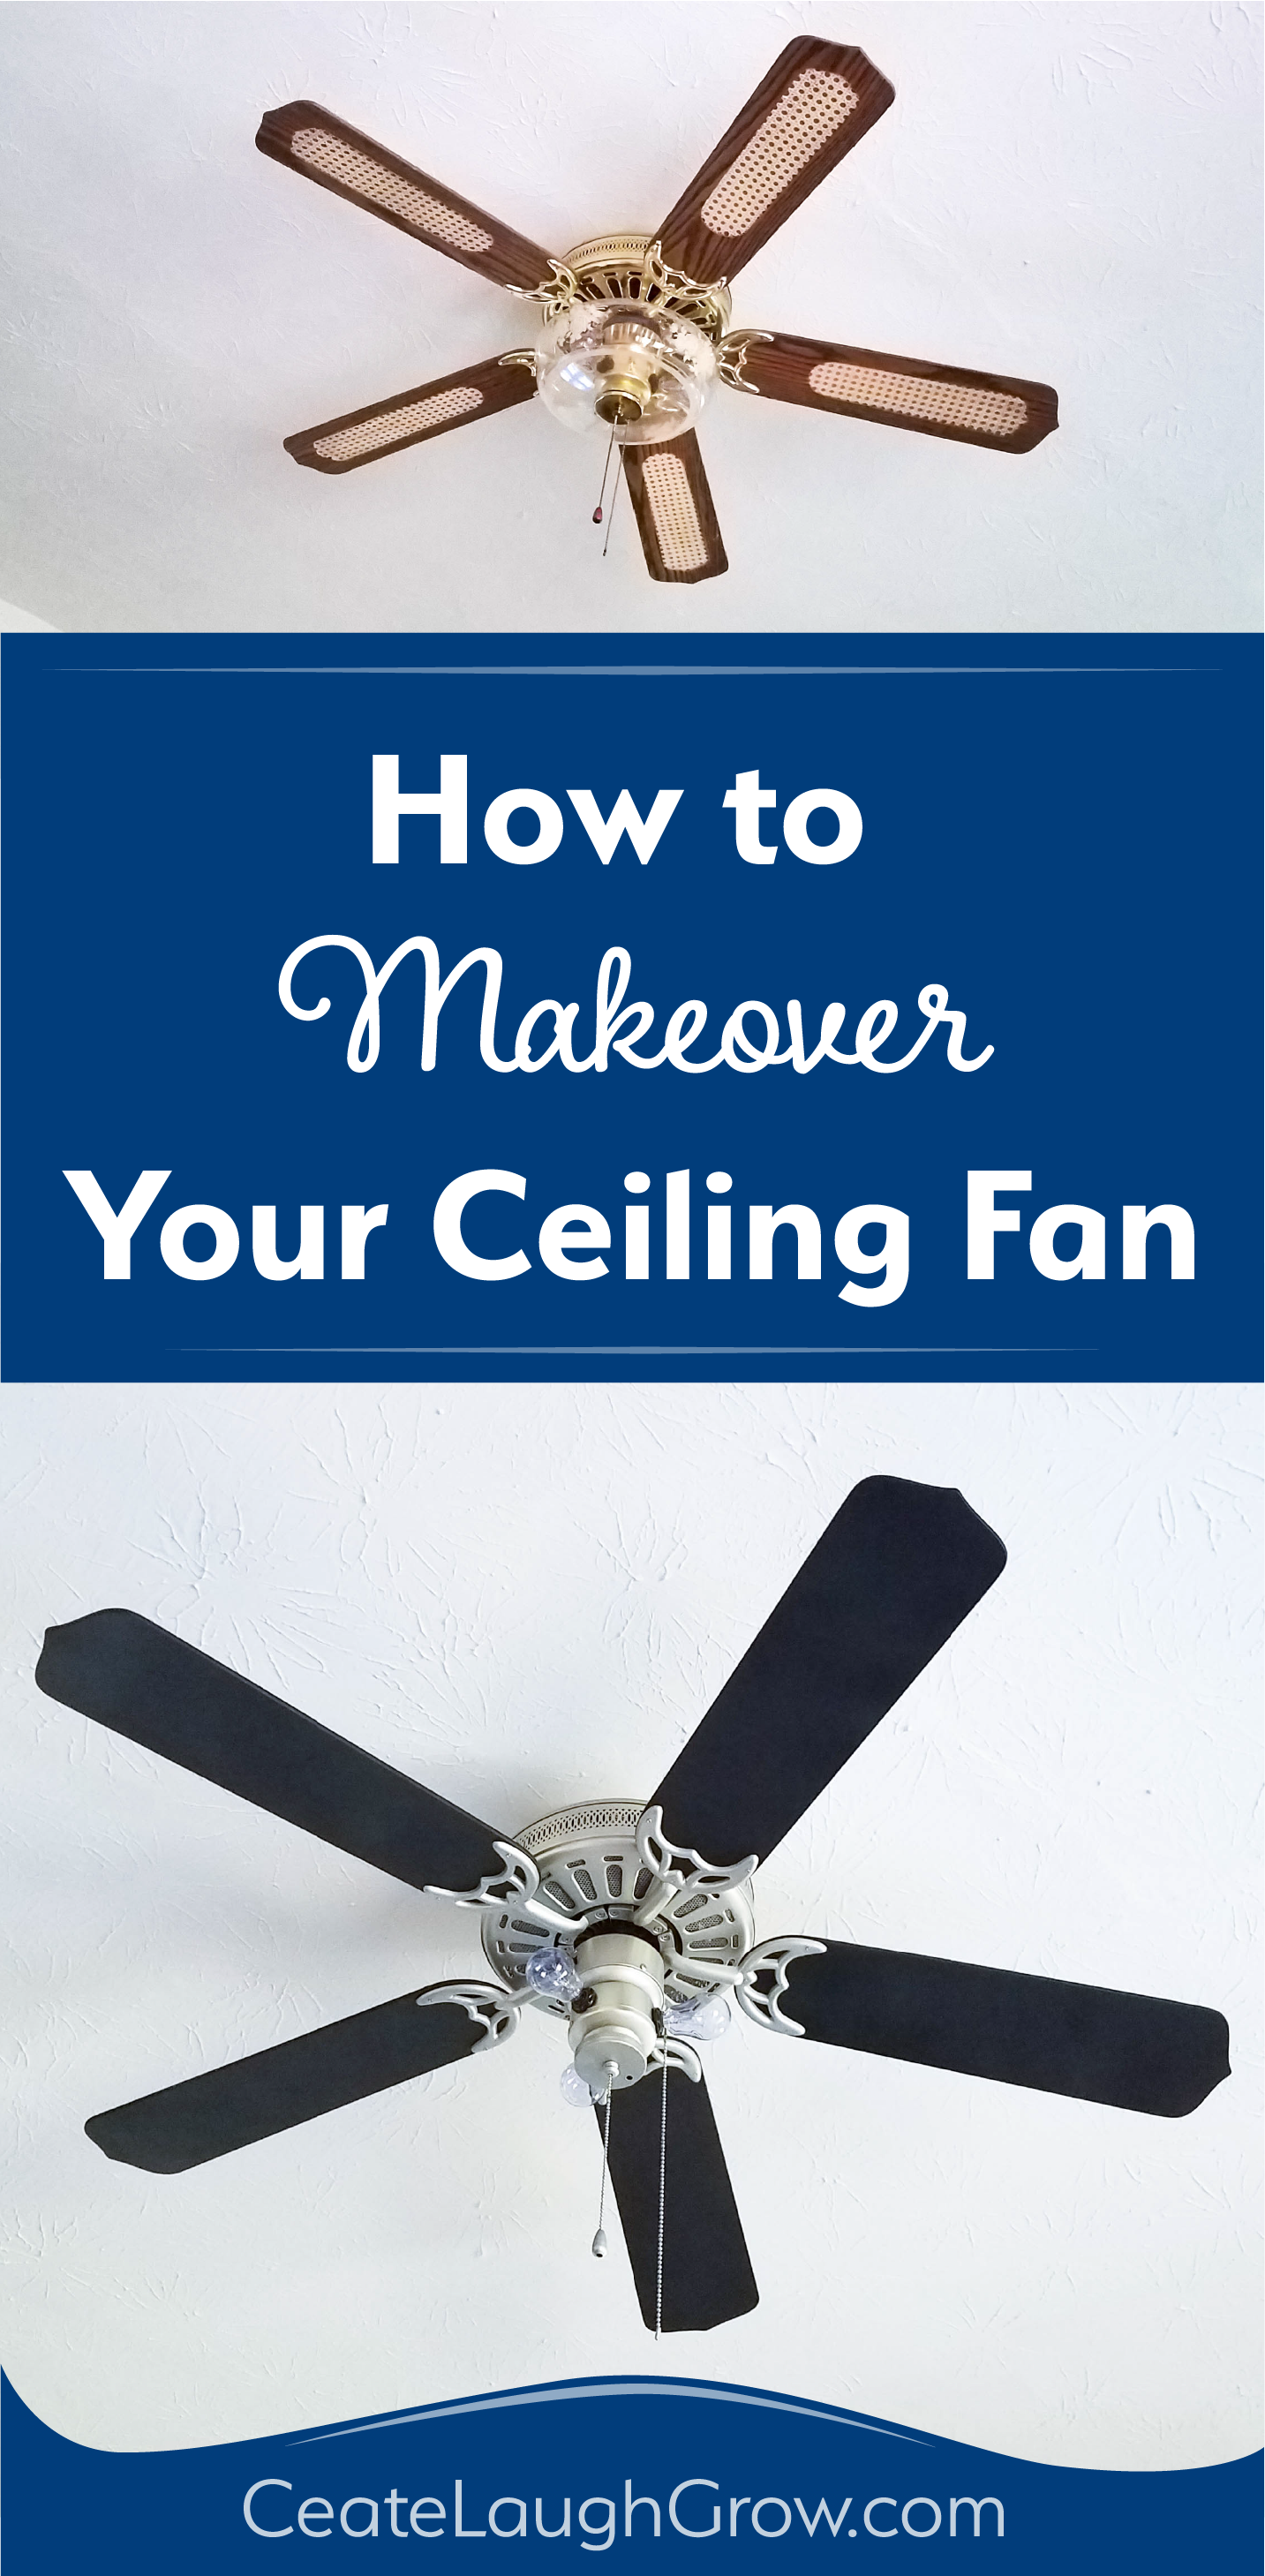
How to Makeover Your Ceiling Fan
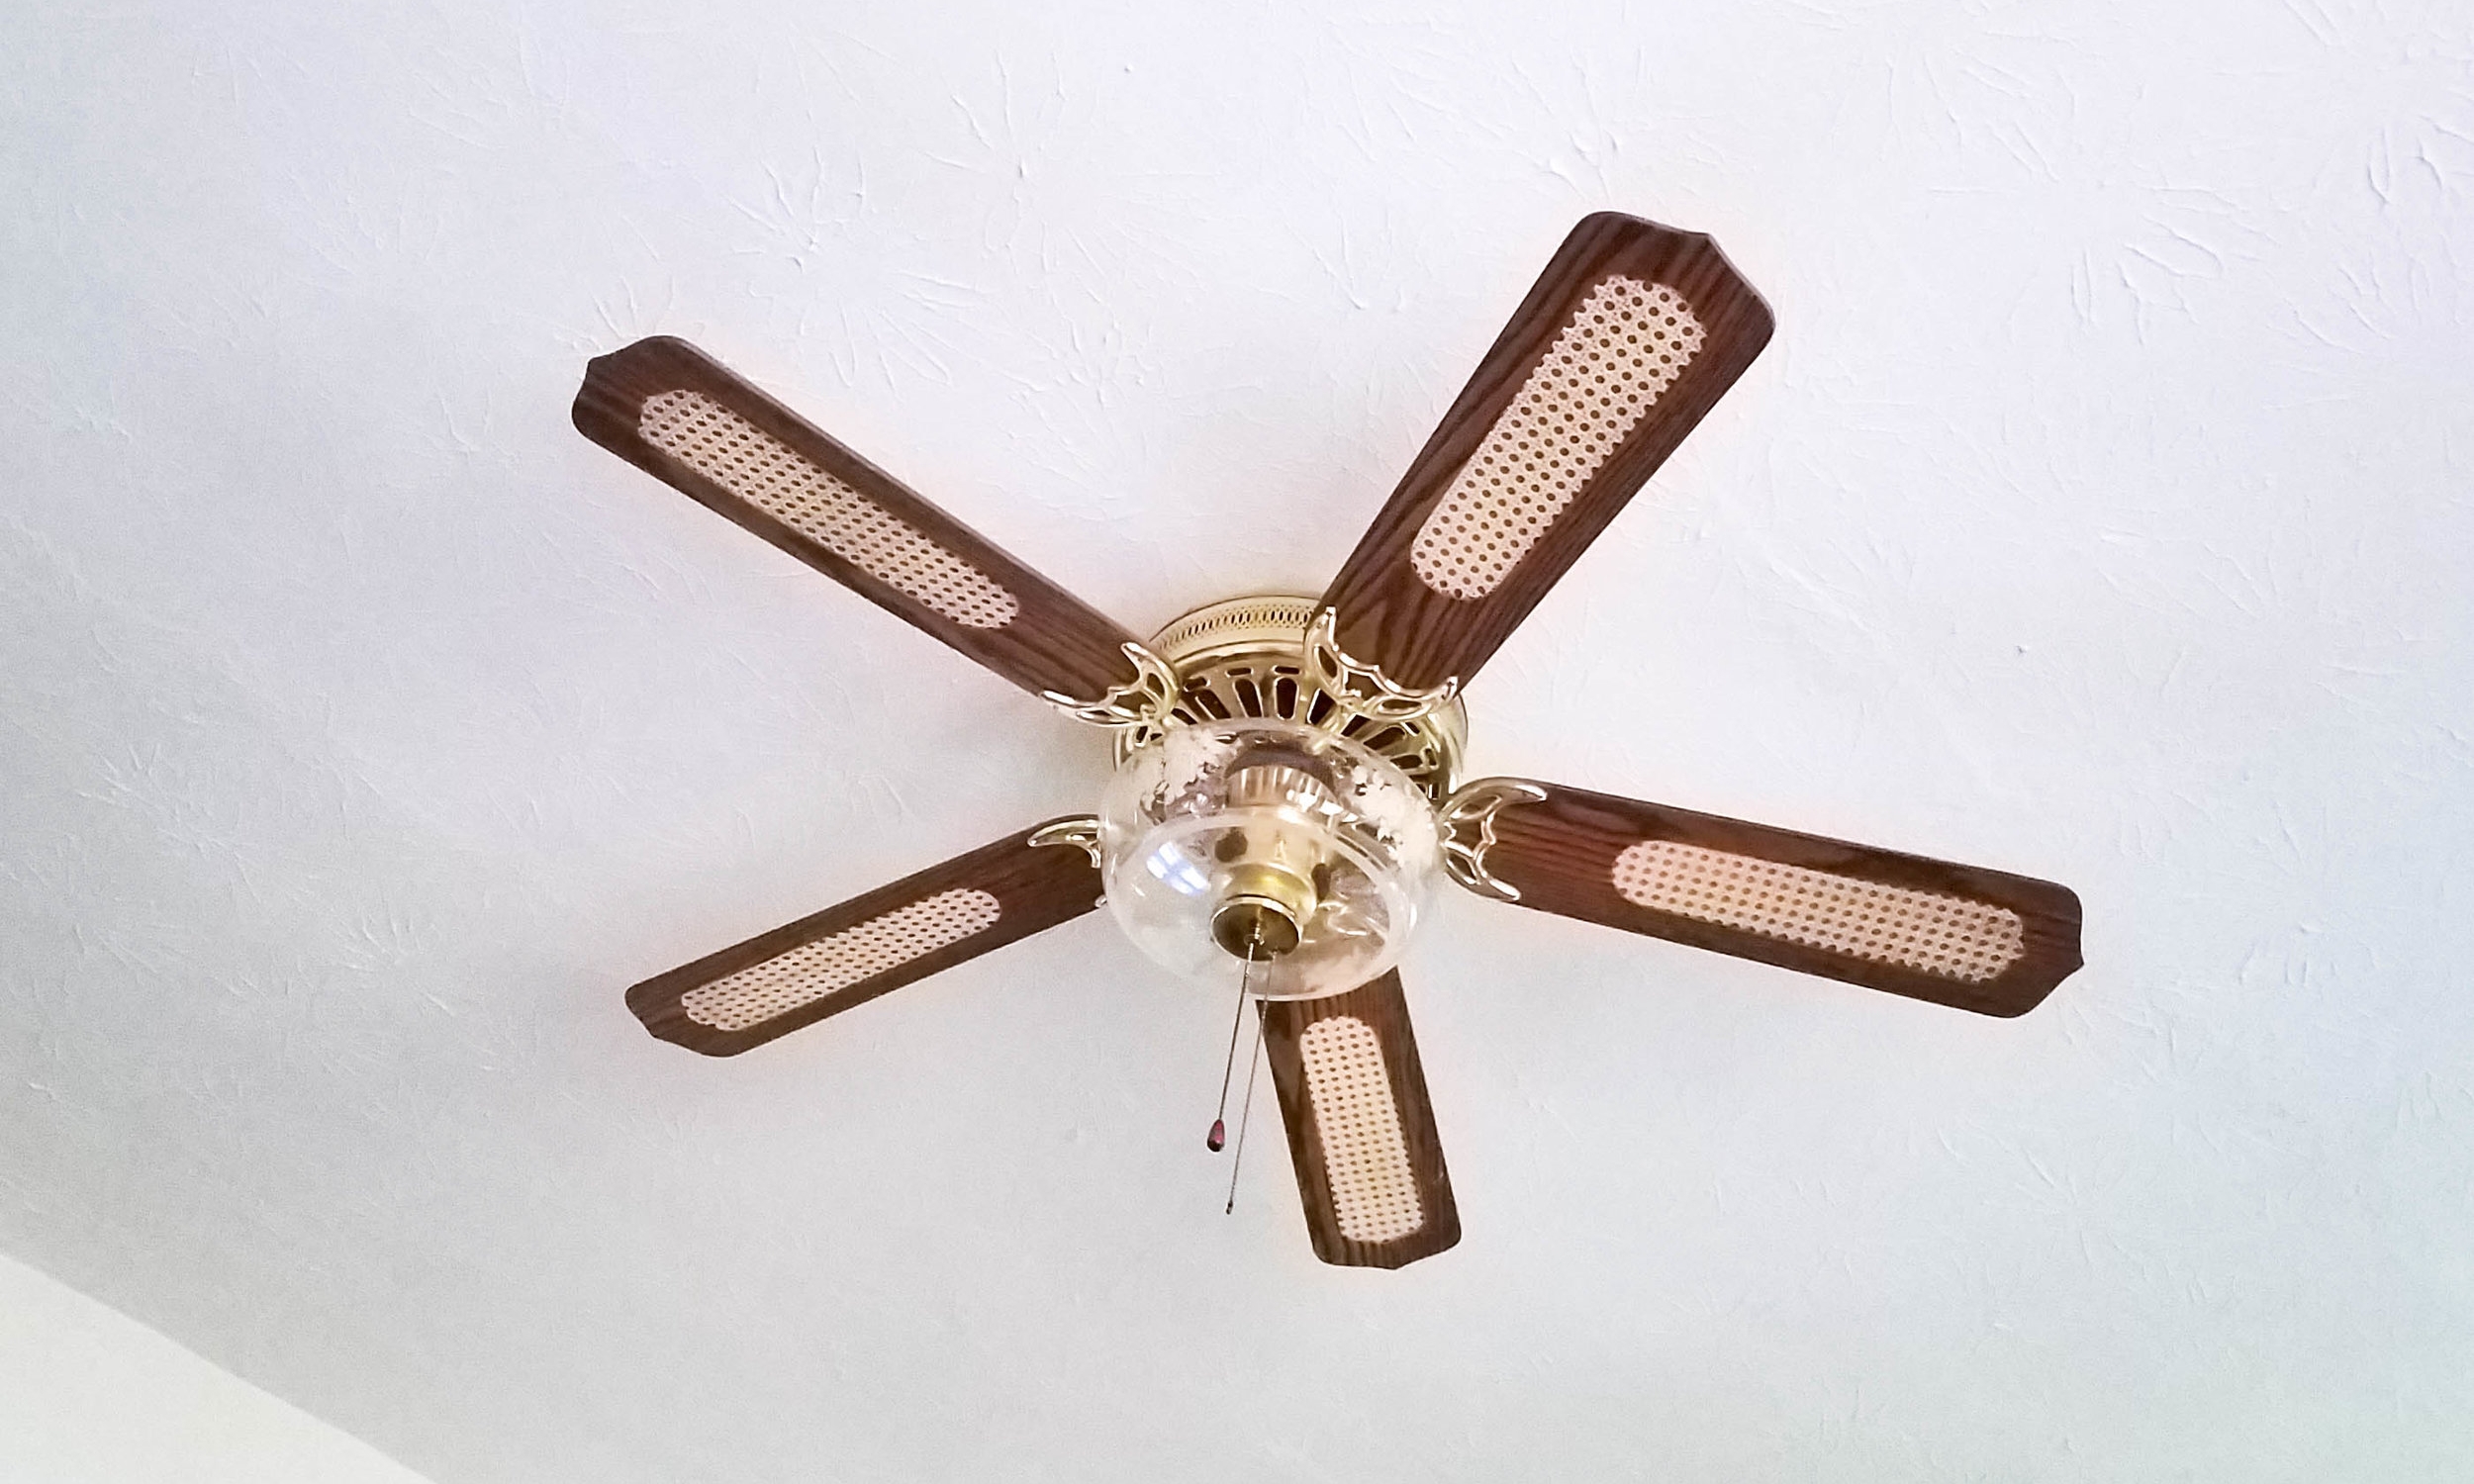
In its day, it was chic. Classy. Stylish. But that style was best left in the eighties and my ceiling fan was screaming for an update. Who am I to deny a fan in need?! The brass had to go.
I live in a rented house so there are limits to my ability to redecorate. Luckily, my landlord is a good man who is patient with me and my desire to make improvements as I can. (Hi, Papa Bob!) Also, I try not to do anything too crazy or change anything I wouldn't be willing to change back or replace when I leave if necessary. You'll notice I didn't put any purple polka-dots on the fan.
My biggest issue with this fan was I couldn't use it. The fan chain came down through the globe and every time I pulled it, it would catch and the globe almost came off. No good. Additionally, although you can't tell in the picture, the globe is tinted, so the light was always tinged with yellow. It was time for a change.
Supplies:
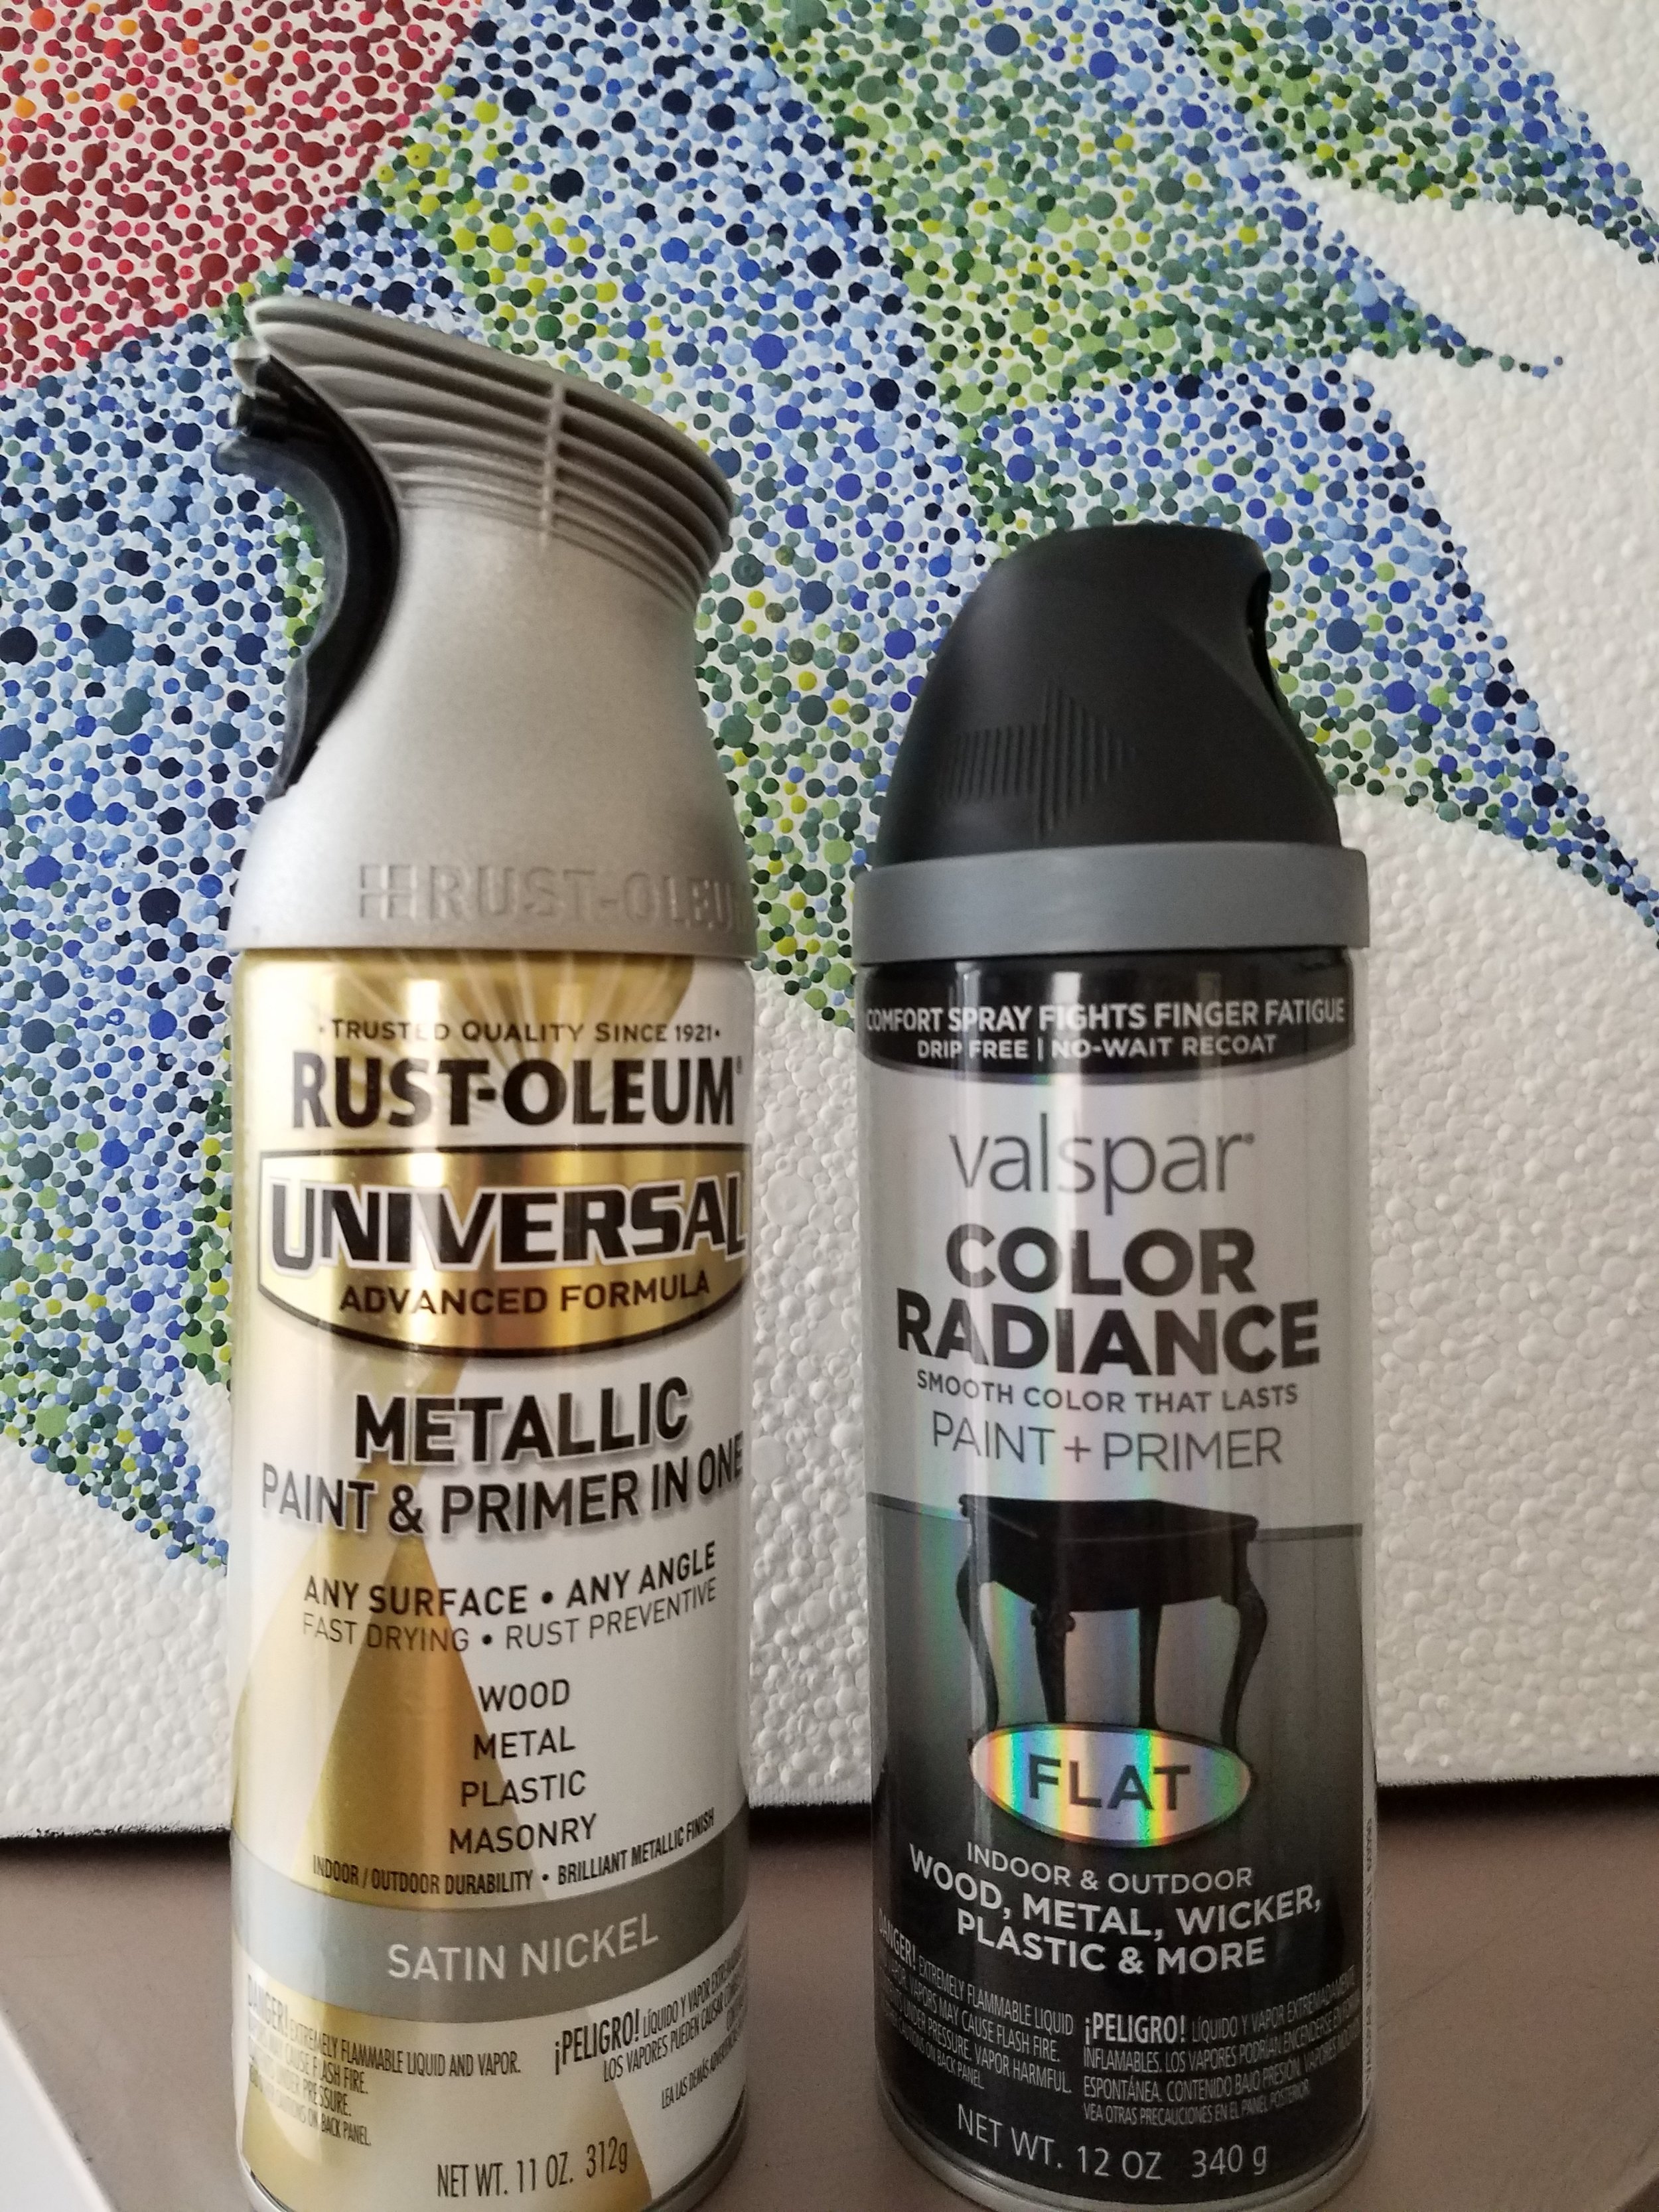
Spray paint (I used THIS)
Sandpaper or electric sander
Painter's tape
Drop cloths
Cleaning supplies
Screwdriver
Stepladder
Here's the upshot of the process:
Remove the fan blades and any other hardware that needs to be painted or needs to be avoided.
Sand and clean any all of the pieces.
Remove fan motor and cover from the ceiling OR tape up paper on the ceiling and cover everything in room (read my lessons learned below).
Cover any electrical openings on the light fixture and fan motor.
Spray paint everything! (2 coats)
Reassemble.
Stand back and admire your exceptional work!
Now, the rest of the story.
I've been threatening to redo this fan for a while and got a wild hair to get started on it about midnight one night. I'm all about taking action when inspiration strikes so I jumped in.
I started this project by removing the fan blades and any other loose hardware. Real life note: Since I never used the fan, I might have been remiss in cleaning the top of the blades and well, *ahem*, er...

We'll just leave that there and move right along...
I gave it all a good wipe-down to prepare for painting. Be sure to make of note of which hardware goes where. Around here, we get fancy and do it like this:

I decided it was too much trouble to take the whole fan motor and cover down so I taped up some brown paper. I also taped over all of the electrical openings so I wouldn't accidentally get any paint in dangerous places. I then draped most of the things in the living with drop cloths and went to work with the spray paint. Over a couple of hours I gave it about 2.5 coats.
LESSON LEARNED: If I had to it do again, I might rethink the decision to leave the motor up. For one, I had trouble getting the spray paint can at a good angle to paint the top of the fan. No one will likely ever see the bald spots until they take the fan down to replace it, but I think of it every time I look at it.


Additionally, I didn't consider how broad of an area the paint particles would fall in since I was spraying upward. Even though I covered almost everything in the immediate room with drop cloth, I found a light dusting of paint on anything that wasn't covered, as well as things in the adjoining rooms. This is the back of my remote that was lying on a table just inside the next room.

I spent a lot of time cleaning afterward. It may have been easier to leave the fan on the ceiling in the beginning, but I'm pretty sure it took more time in the end.
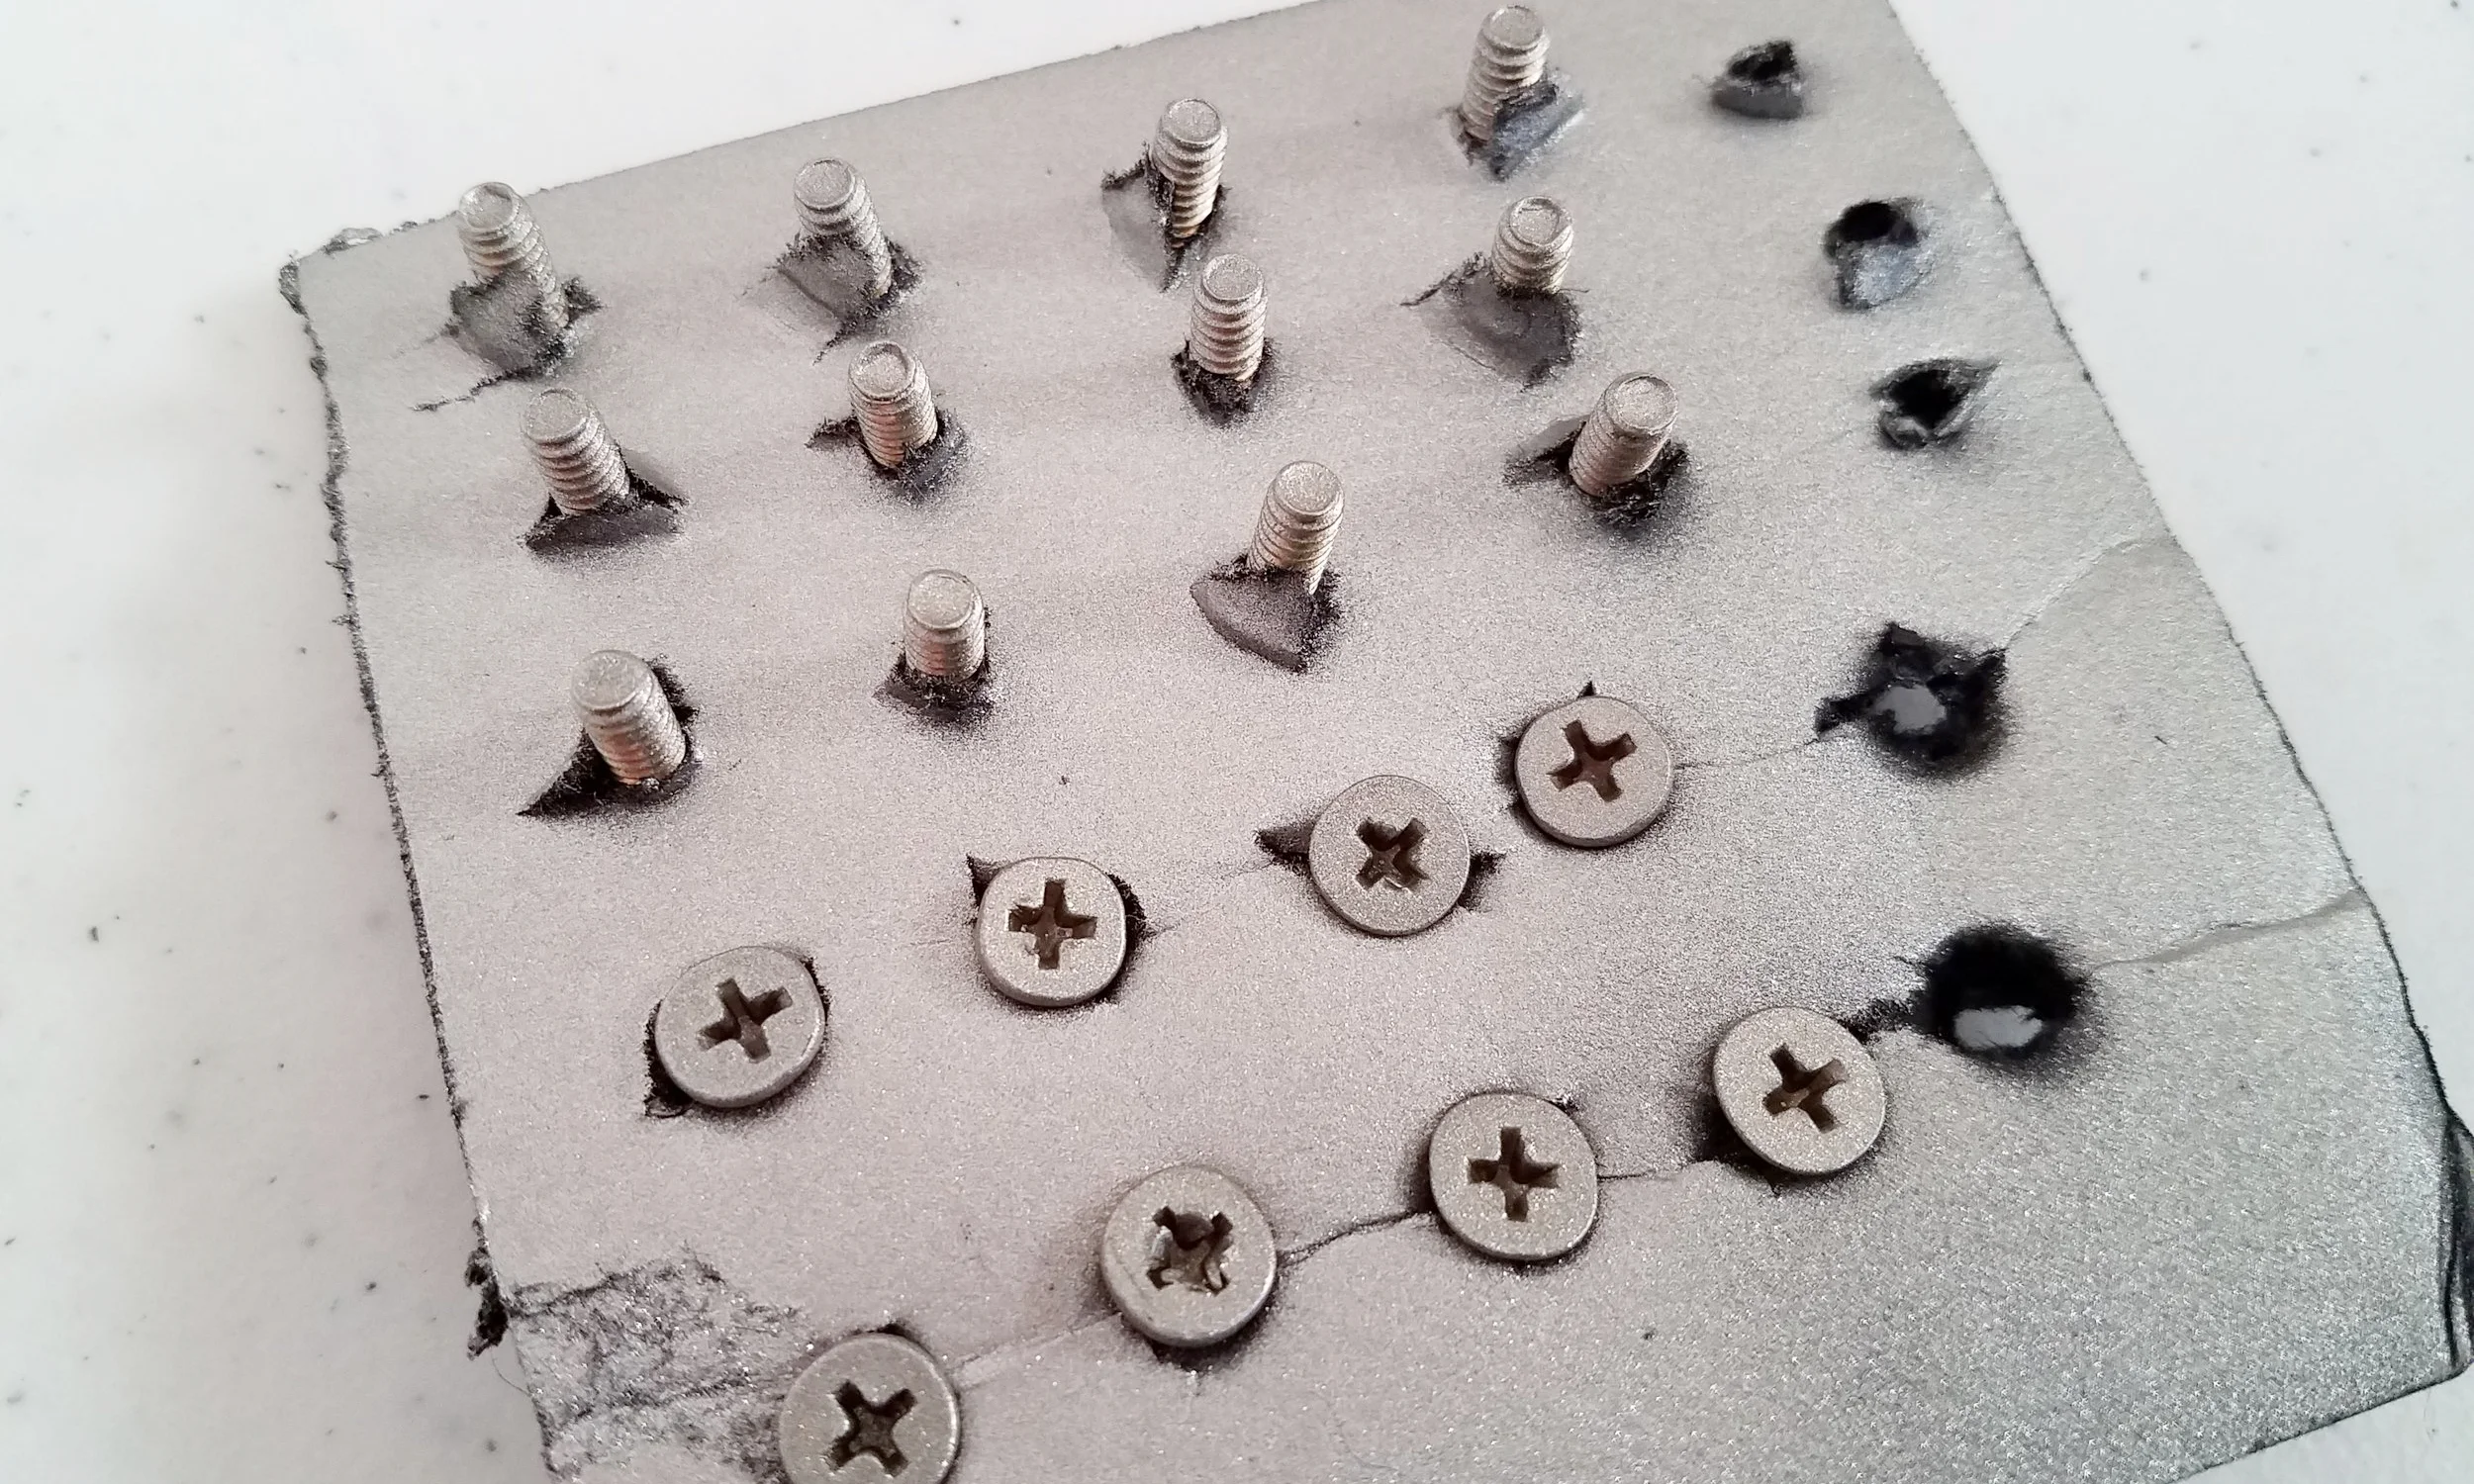
Next, it was time to paint the hardware and blades. I only painted the part of the screws that would be visible by using a very professional tool: a scrap piece of foam core board. All of the hardware was painted the same color as the motor cover.
The next day I took the fan blades out on the back porch to paint. I thought I could get away with not sanding them. I was wrong.
LESSON LEARNED: Always sand before you paint. Every blemish will show.
LESSON LEARNED: Don't paint outside on a windy day. Nature will give your piece some unwanted texture.
Yes, I already knew that. Some lessons you have to learn more than once. Or twice.

LESSON LEARNED: Don't paint a ceiling fan shiny poop brown. If you do, have the good sense to start over again and make better choices. Black. Black is a better choice.
Whew. Painting the fan blades was educational.
In the end, I used Rust-oleum Metallic paint in the shade of Satin Nickel for the main part of the the fan and hardware. Then used Valspar Color Radiance in flat black. Because of the mesh inlay, I painted both sides of the fan blades, but ended up reassembling them top-side-down so you can't see the mesh.
I decided to leave the bulbs bare for a slightly more industrial look. Now I have shite light and I can turn the fan on. I'm in love.


Have you ever given a ceiling fan a makeover? Did you dismantle the whole thing? Tell me how that worked for you. I'm thinking of trying this again for the fan in my guest room. I'll keep you posted.