

How to Make Your Very Own Painted Wooden Sign
I gave away my Cricut. I know, I know. What was I thinking? I hadn’t used it much and I got some wild hair about simplifying my life and possessions and…well, there you have it. Of course, the minute it was out of my hands, there were fifty-eleven things I absolutely had make that needed some fancy cutting.
At the top of the list was adding some words to this string art map I made for my sweet Daddy. So, being Cricut-less, it was time to get creative. I kinda hate stenciling and was afraid whatever I did was going to be really labor intensive. I was wrong. It was ridiculously simple and pretty quick too.

Here’s what you need:
Wood (I picked this panel up at Lowe's)
Printout of your design
Tape
Chalk
Pencil or pen
Paint pen (or metallic Sharpie, or paint and brush if you're especially talented)

For those of you who like it quick, here’s the upshot:
Print and piece your design together (if there are multiple pieces).
Color the back of your design with chalk or pencil (everywhere with ink on the front).
Place your design on the wood and tape it down gently.
With a firm pressure, go over the outline of your design with a pen or pencil, pressing down hard enough that the chalk from the back of the sheet will transfer to the board
Remove your design slowly, checking as you go to make sure everything is outlined before you remove the whole design.
Color in the design with a paint pen.
Admire your work and all-around amazingness that is you!
For those of you looking for a few more details, here’s the Type-A version:
Print and piece your design together: If your design is bigger than one piece of paper (and isn’t it always!?), piece and tape it together the way you want it. Place the paper on your board and play a little with where you’re going to put the design. Make sure you’re happy with the fit.

Color the back of your design: Now it’s time to color the back of your design. If you’re going to put the design on light colored wood, using a regular pencil instead of chalk will work great. If the wood is darker, your best bet is chalk. I used white art chalk for this project. Just be sure you cover all the areas where your design is.
I tried to capture that in the picture below but, you know, white chalk on white paper...

Place it and tape it: After your design is all chalkified, flip your paper design-side-up and place it in the absolute perfect place on your board. Tape it down with small pieces of tape.
LESSON LEARNED: If you’re using smooth, stained wood, you’re going to want to do this part gently, it’s likely to remove a little of the wood and stain or paint when you remove the tape. On a rough piece of wood, this doesn’t matter much. When I taped mine down, I first ran the sticky side of the tape along my arm and pulled it back off. It leaves enough sticky to hold temporarily, but not so much that it messes up your paint job.
If you’re really concerned about this, sticky tack is a great alternative. You can also choose not to anchor the design at all. That’s too much freedom for me (and my two dogs that like to nose everything I’m working on) but if you’re feeling especially daring, go for it!
Outline your design: Use a pen or pencil and start firmly drawing on the outline of your design. I used a mechanical pencil, both with and without the lead out. It worked both ways but was easier for me with the lead because I could see where I’d already drawn. After you’ve done a little bit, lift a corner of the paper to see how it’s working or if you need to press harder. Don’t worry if the chalk dust spreads a little. It’ll wipe away easily later. Finish outlining your entire design.
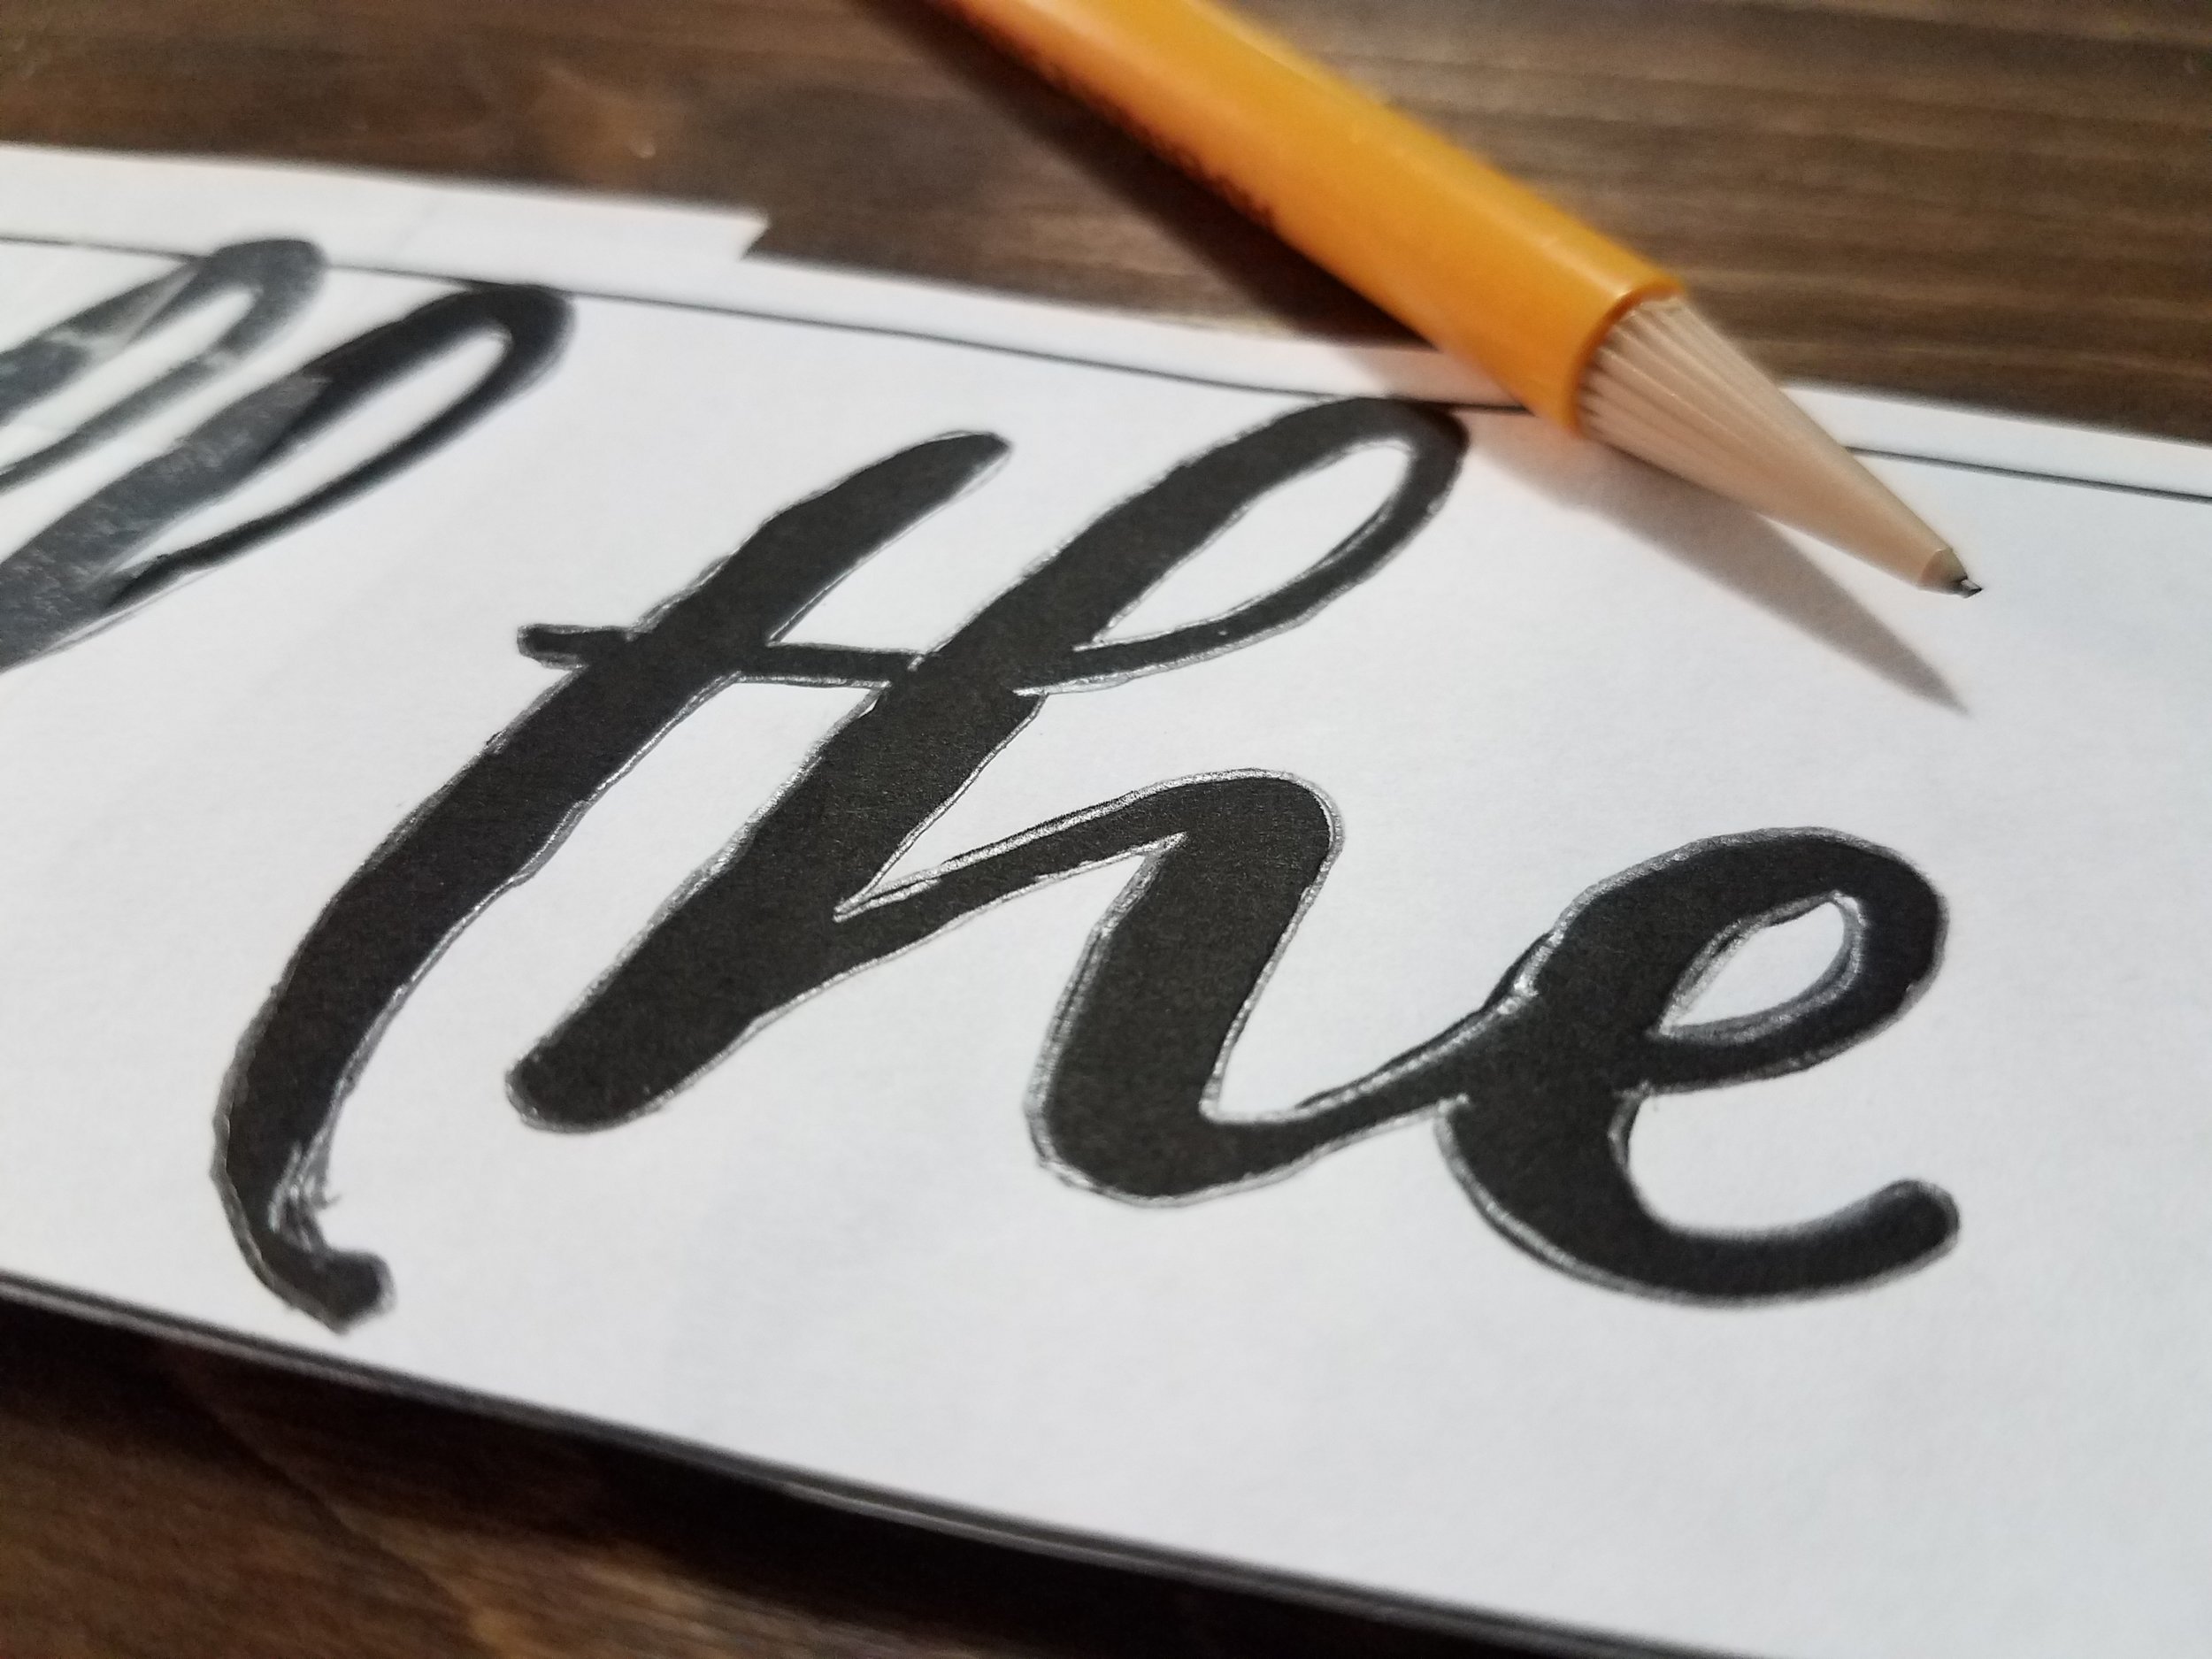
Remove your design: Now it gets good! I got a bit giddy raising the paper and seeing my beautiful design outline exactly as I want it on my board. I recommend removing your design paper slowing, checking as you go that you did get everything outlined. It’s a lot easier to let the paper fall back into to place then to try to find that sweet spot again later.
LESSON LEARNED: Notice that it looks a little messy here. No worries, it'll wipe away with a damp cloth easily after you get it painted in. Don't be afraid to blow off or GENTLY wipe off the lose chalk with your dry hand. Your outline will stay. If you don't clean it up a little, it'll get in your way.


Color in your design: I don’t have the steadiest hand when it comes to painting fine details so, time to cheat. You can color in your outline with a marker or paint pen!! I wanted something subtle to go with the other neutral tones on this piece so I used a gold Sharpie.
LESSON LEARNED: Unlike the regular Sharpies, the metallic Sharpies do not bleed into the wood. However, I would strongly recommend testing whatever pen you use on a scrap piece of wood or on the back of your piece before jumping in with it. Testing and practice are keys to success!


Once you have it all colored in, let it set and dry a while. I waited overnight. Then wipe off the excess chalk with a damp cloth and clean up any edges or weird spots.
Finally, stand back and admire your amazingness!

I was so excited to finally finish this project. Keep an eye out for an upcoming blog on how I made the world (with string, of course)!


